1964 MGB
a classic car restoration
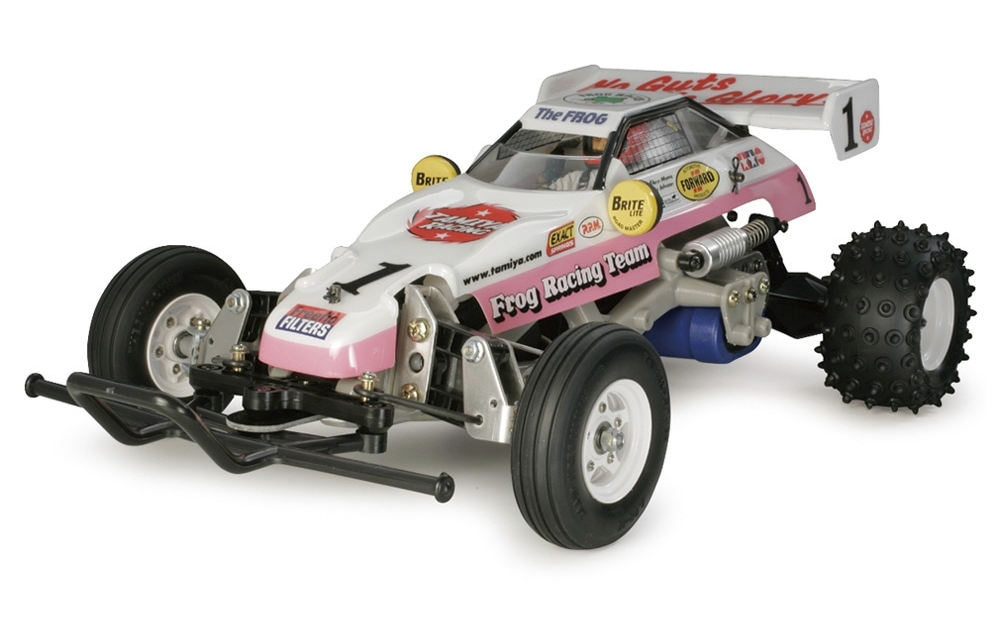
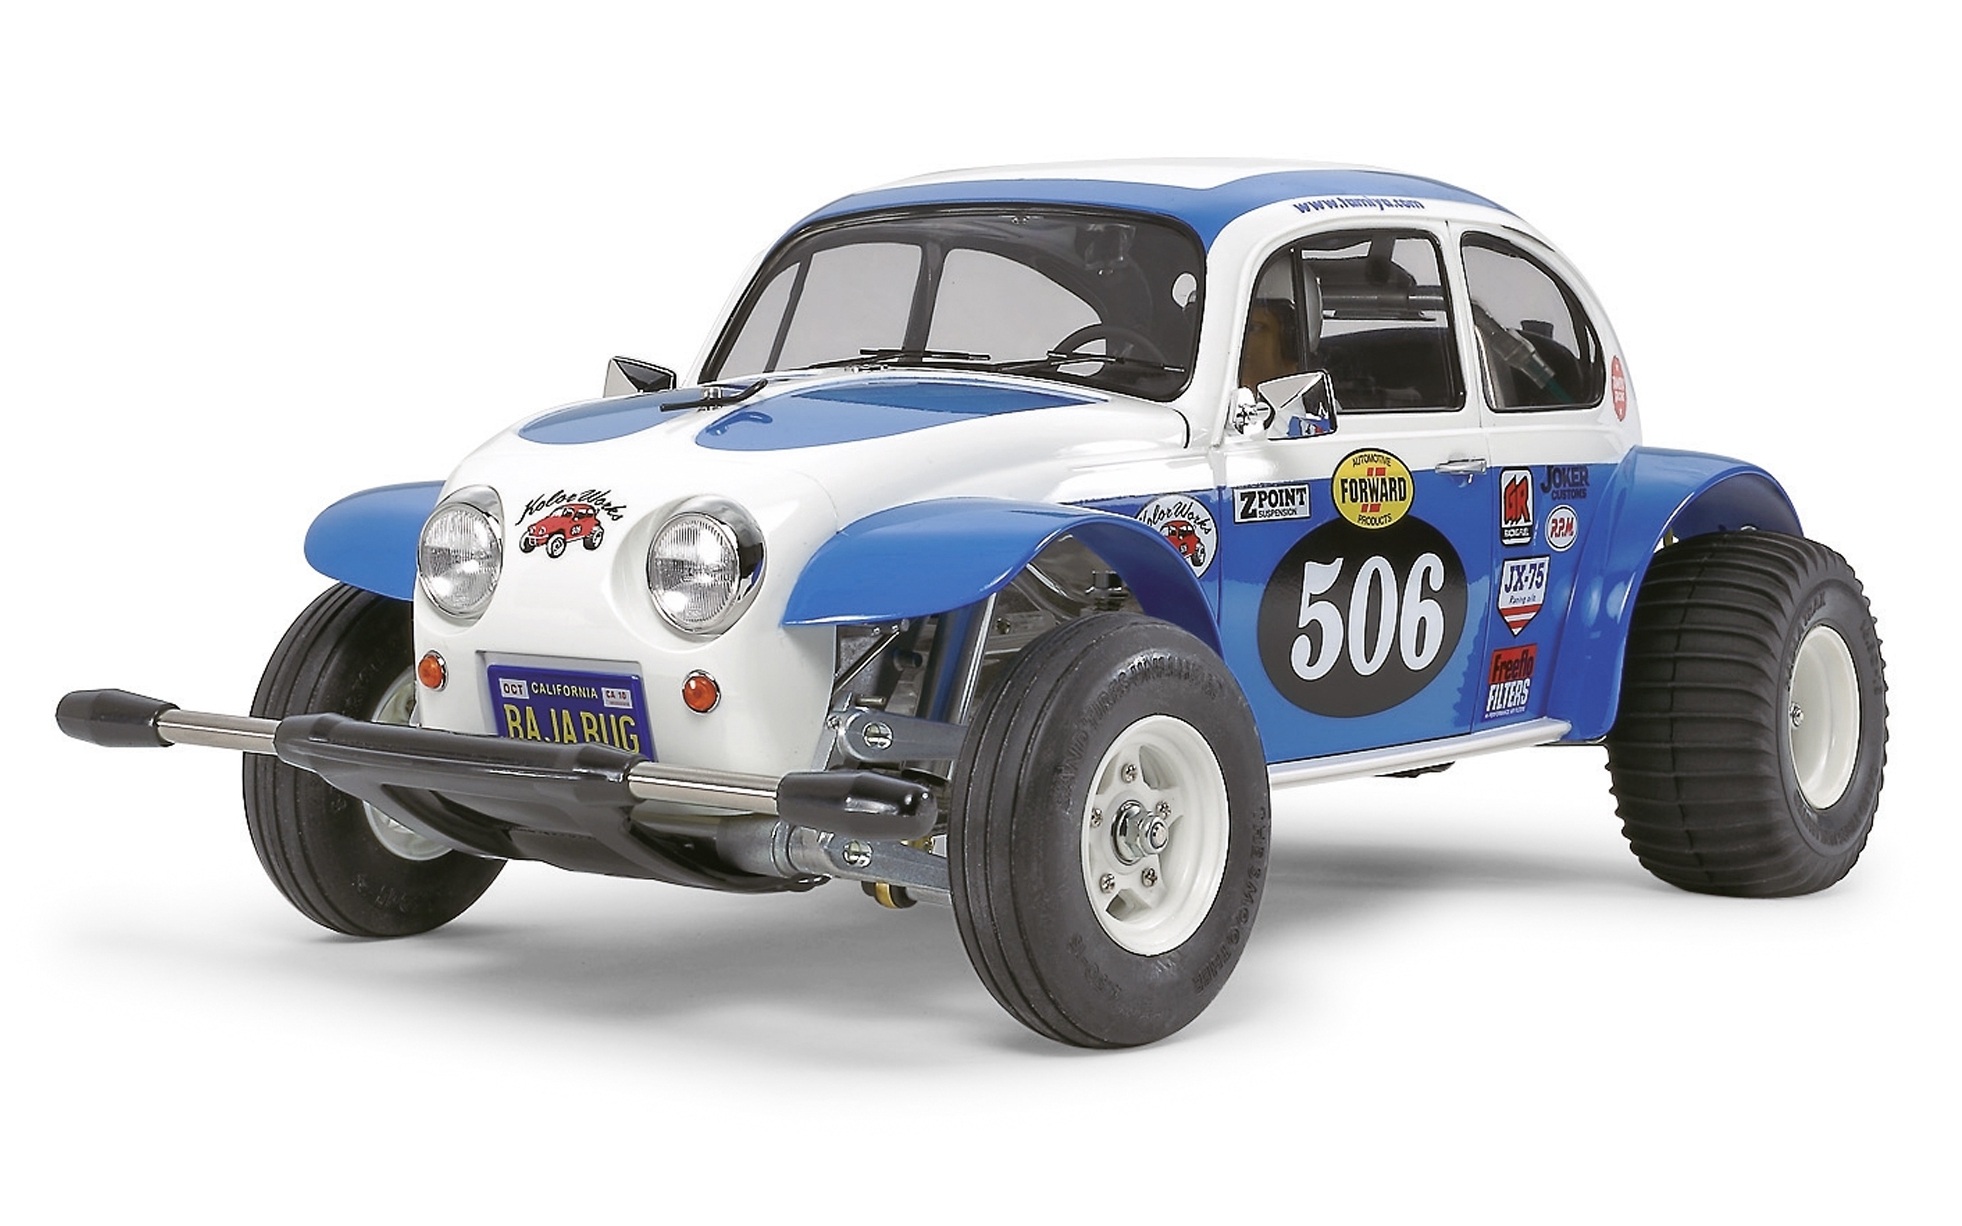
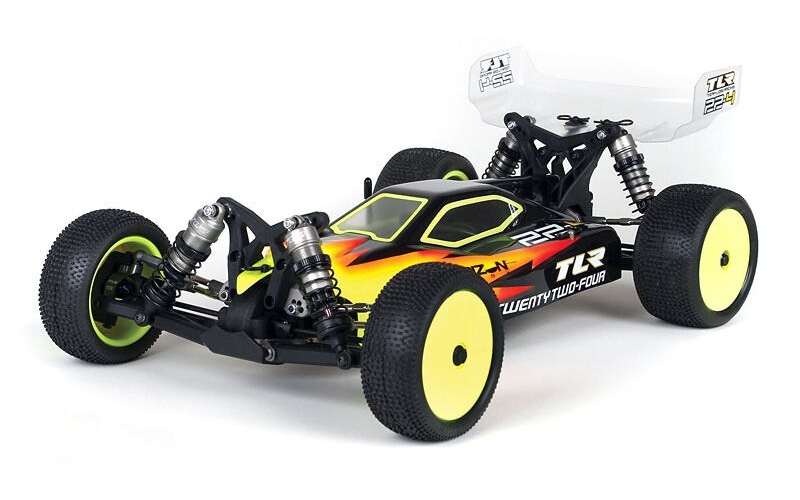
Since before I can remember, I’ve loved the hands-on building experience. I started out with rocket kits and projects I found on YouTube. But my world was forever changed in 2013 when Santa Claus gifted me Tamiya’s The Frog—a remote-controlled racing buggy that required a complete assembly. After I put it all together, I spent countless hours driving it on the road in front of my house, breaking parts (due to my limited driving experience) and learning to fix them so I could get my car back on the road. By the end of middle school, I had a couple other R/C cars in my garage: Tamiya’s Sand Scorcher and Team Losi Racing’s 22-4. I didn’t think life could get much better.
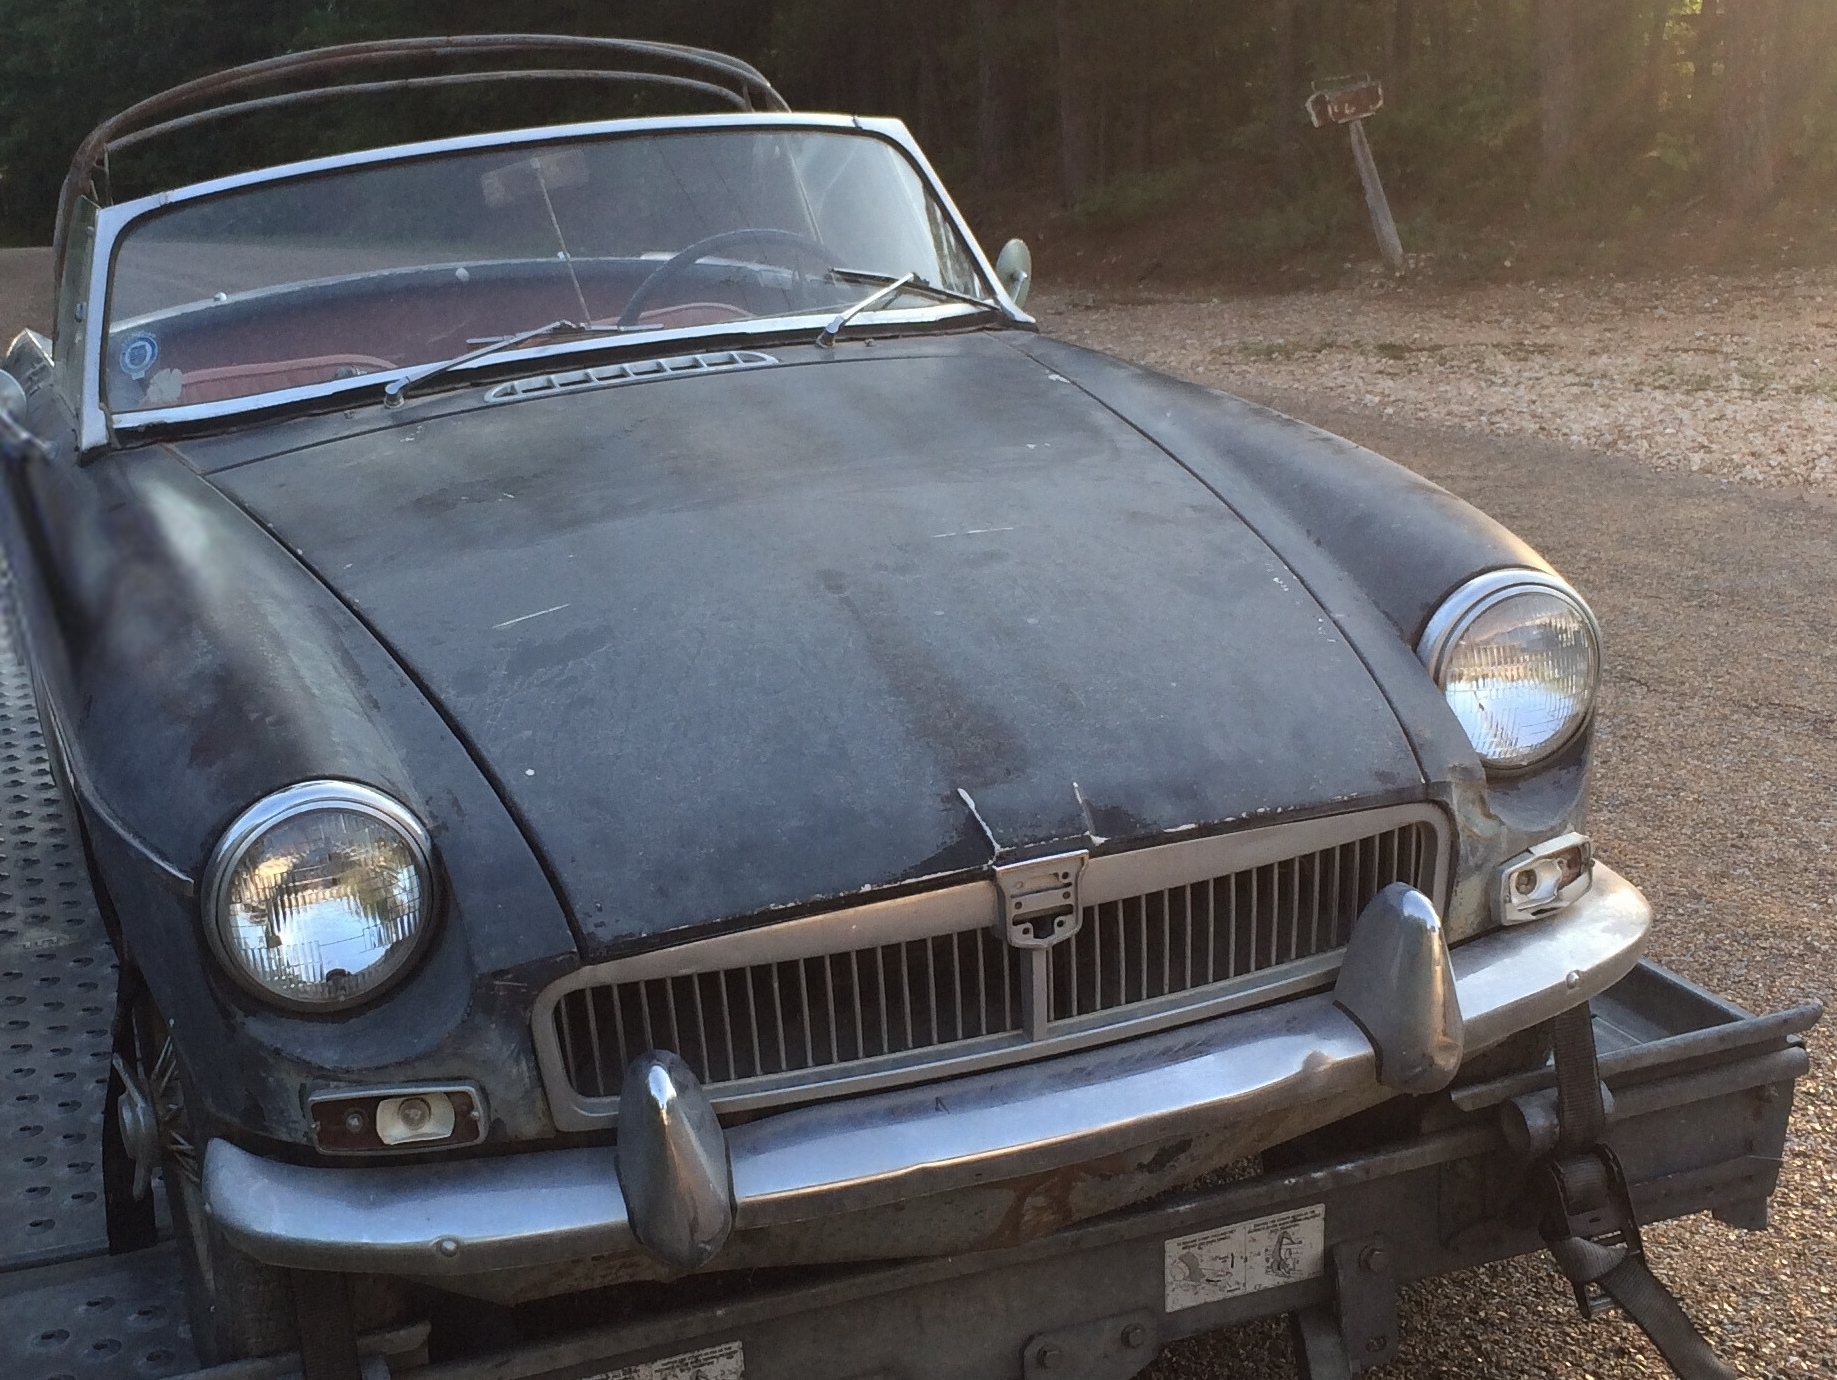
My dad had brought up the idea of rebuilding a vintage sports car before, but I thought the idea was just about as delusional as his promise of a flatscreen TV. So on July 1, 2018, when my dad asked me if I was interested in looking for any MGBs for sale online, I was in awe. We quickly came across a few MGBs on eBay, but there was one that really caught our eye: a 1964 MGB that was essentially a barn find. The seller had bought it at an auction a few years before with the intention of rebuilding it, but he ended up having too many other cars on his plate. With just a few hours remaining in the auction, my dad and I started bidding and soon—at 10:04 PM CST—found ourselves with the winning bid of $2,605.65. We picked up the car a month later in Yellville, Arkansas and drove it back to Dallas with a U-Haul trailer.
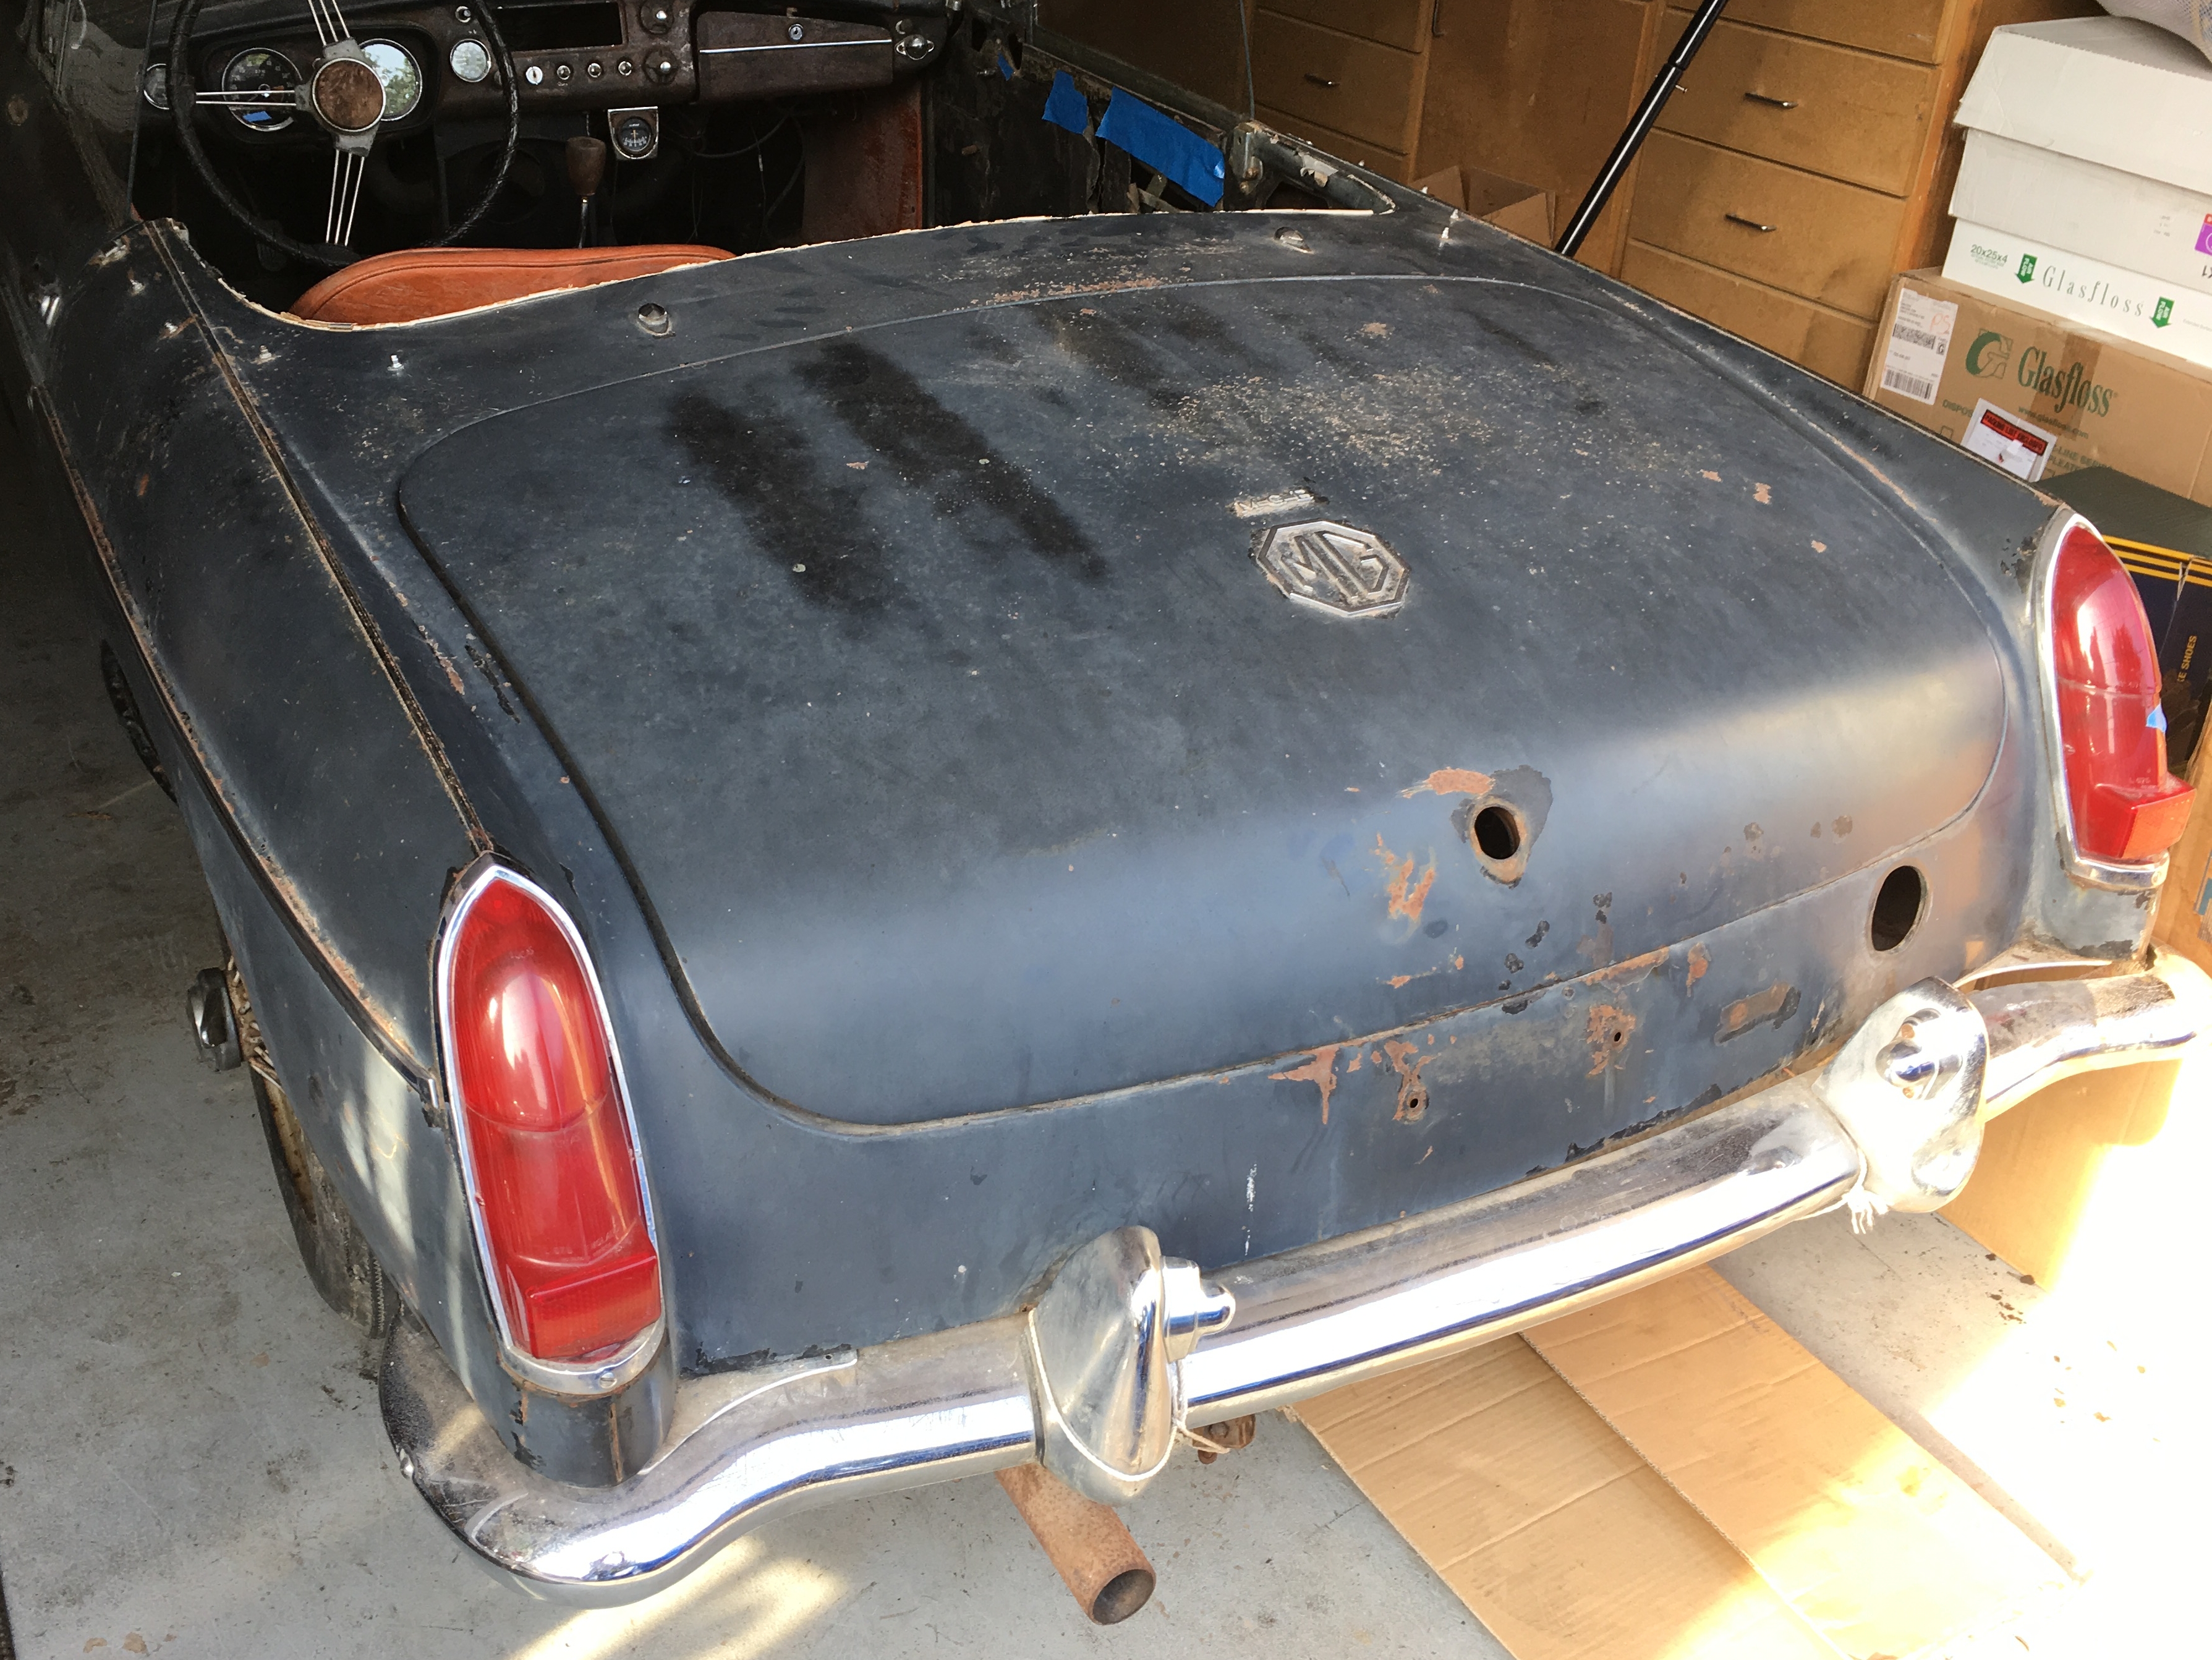
With the start of my sophomore year just a couple weeks away, we didn’t have much time to devote to the project. We spent one weekend in late August replacing the brake calipers and rotors on the two front wheels, and I additionally spent a good amount of time simply admiring the car as it sat in our garage.
In late fall, we decided to invest in a sand blaster that was on sale so that we could clean up any rusted car parts. I started with each of the wire wheel rims, making sure to repaint them with the original silver spray paint before bringing them to Legacy Tire & Muffler to mount new rubber tires.
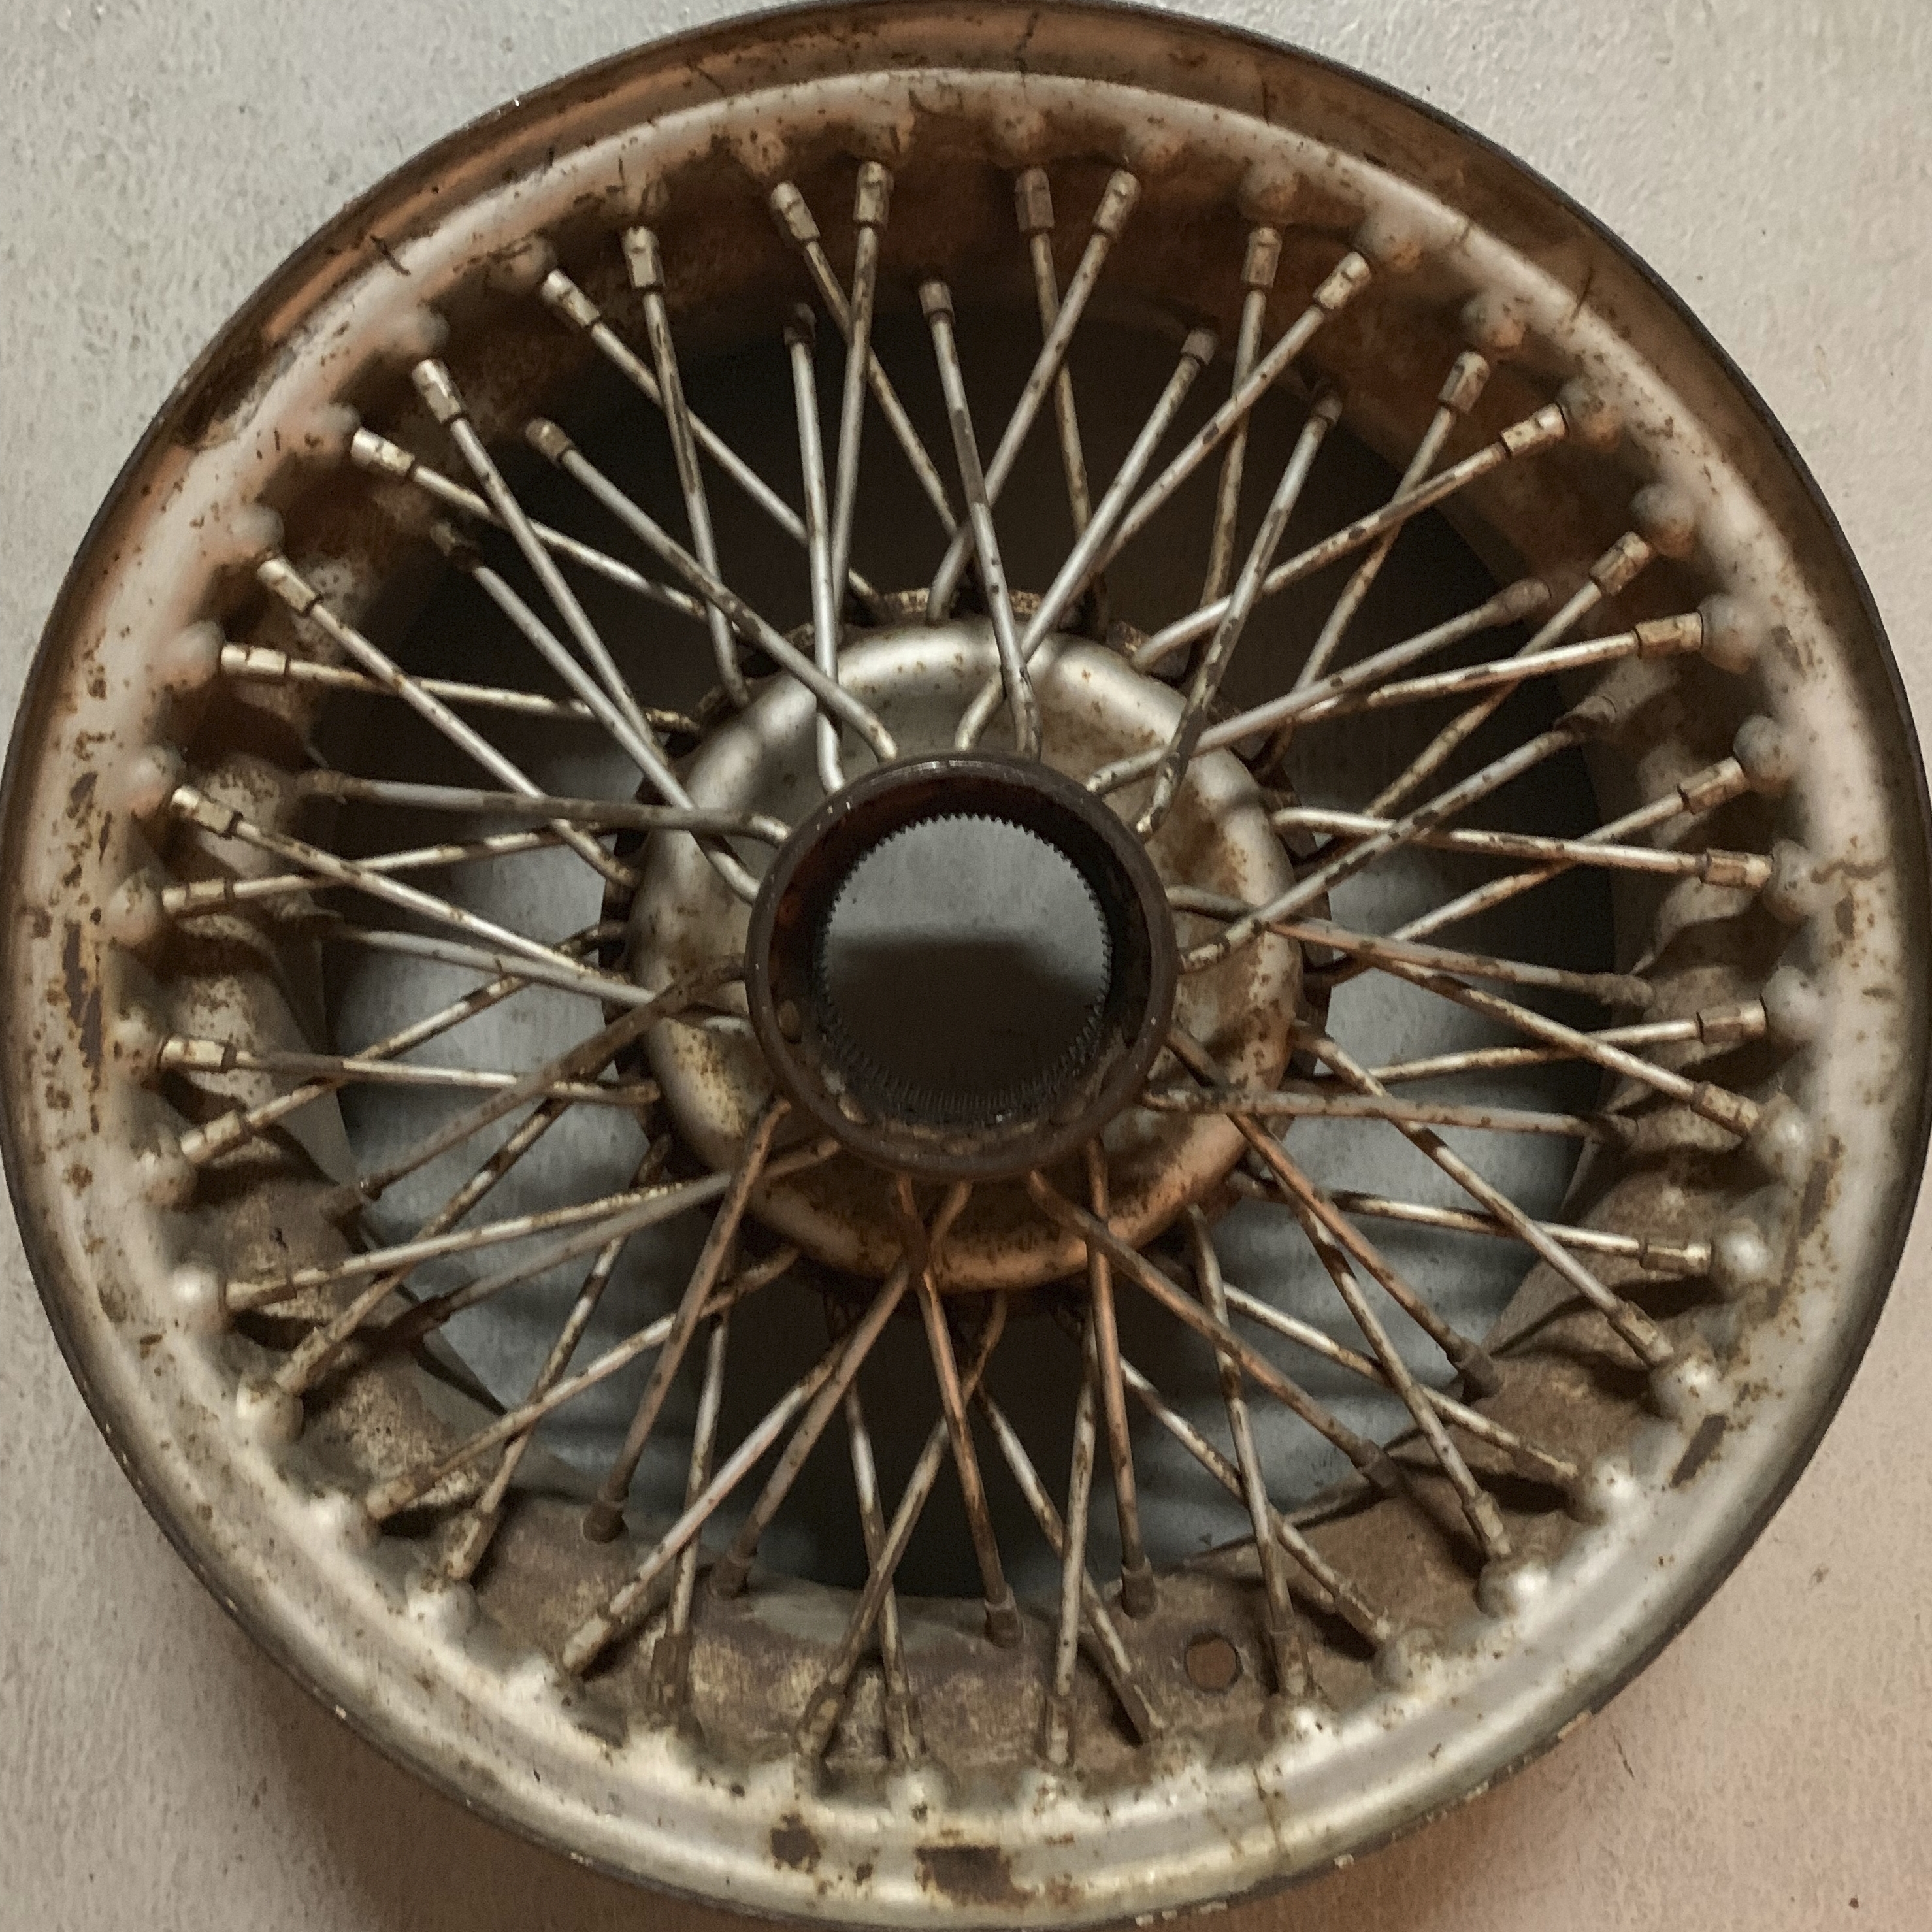
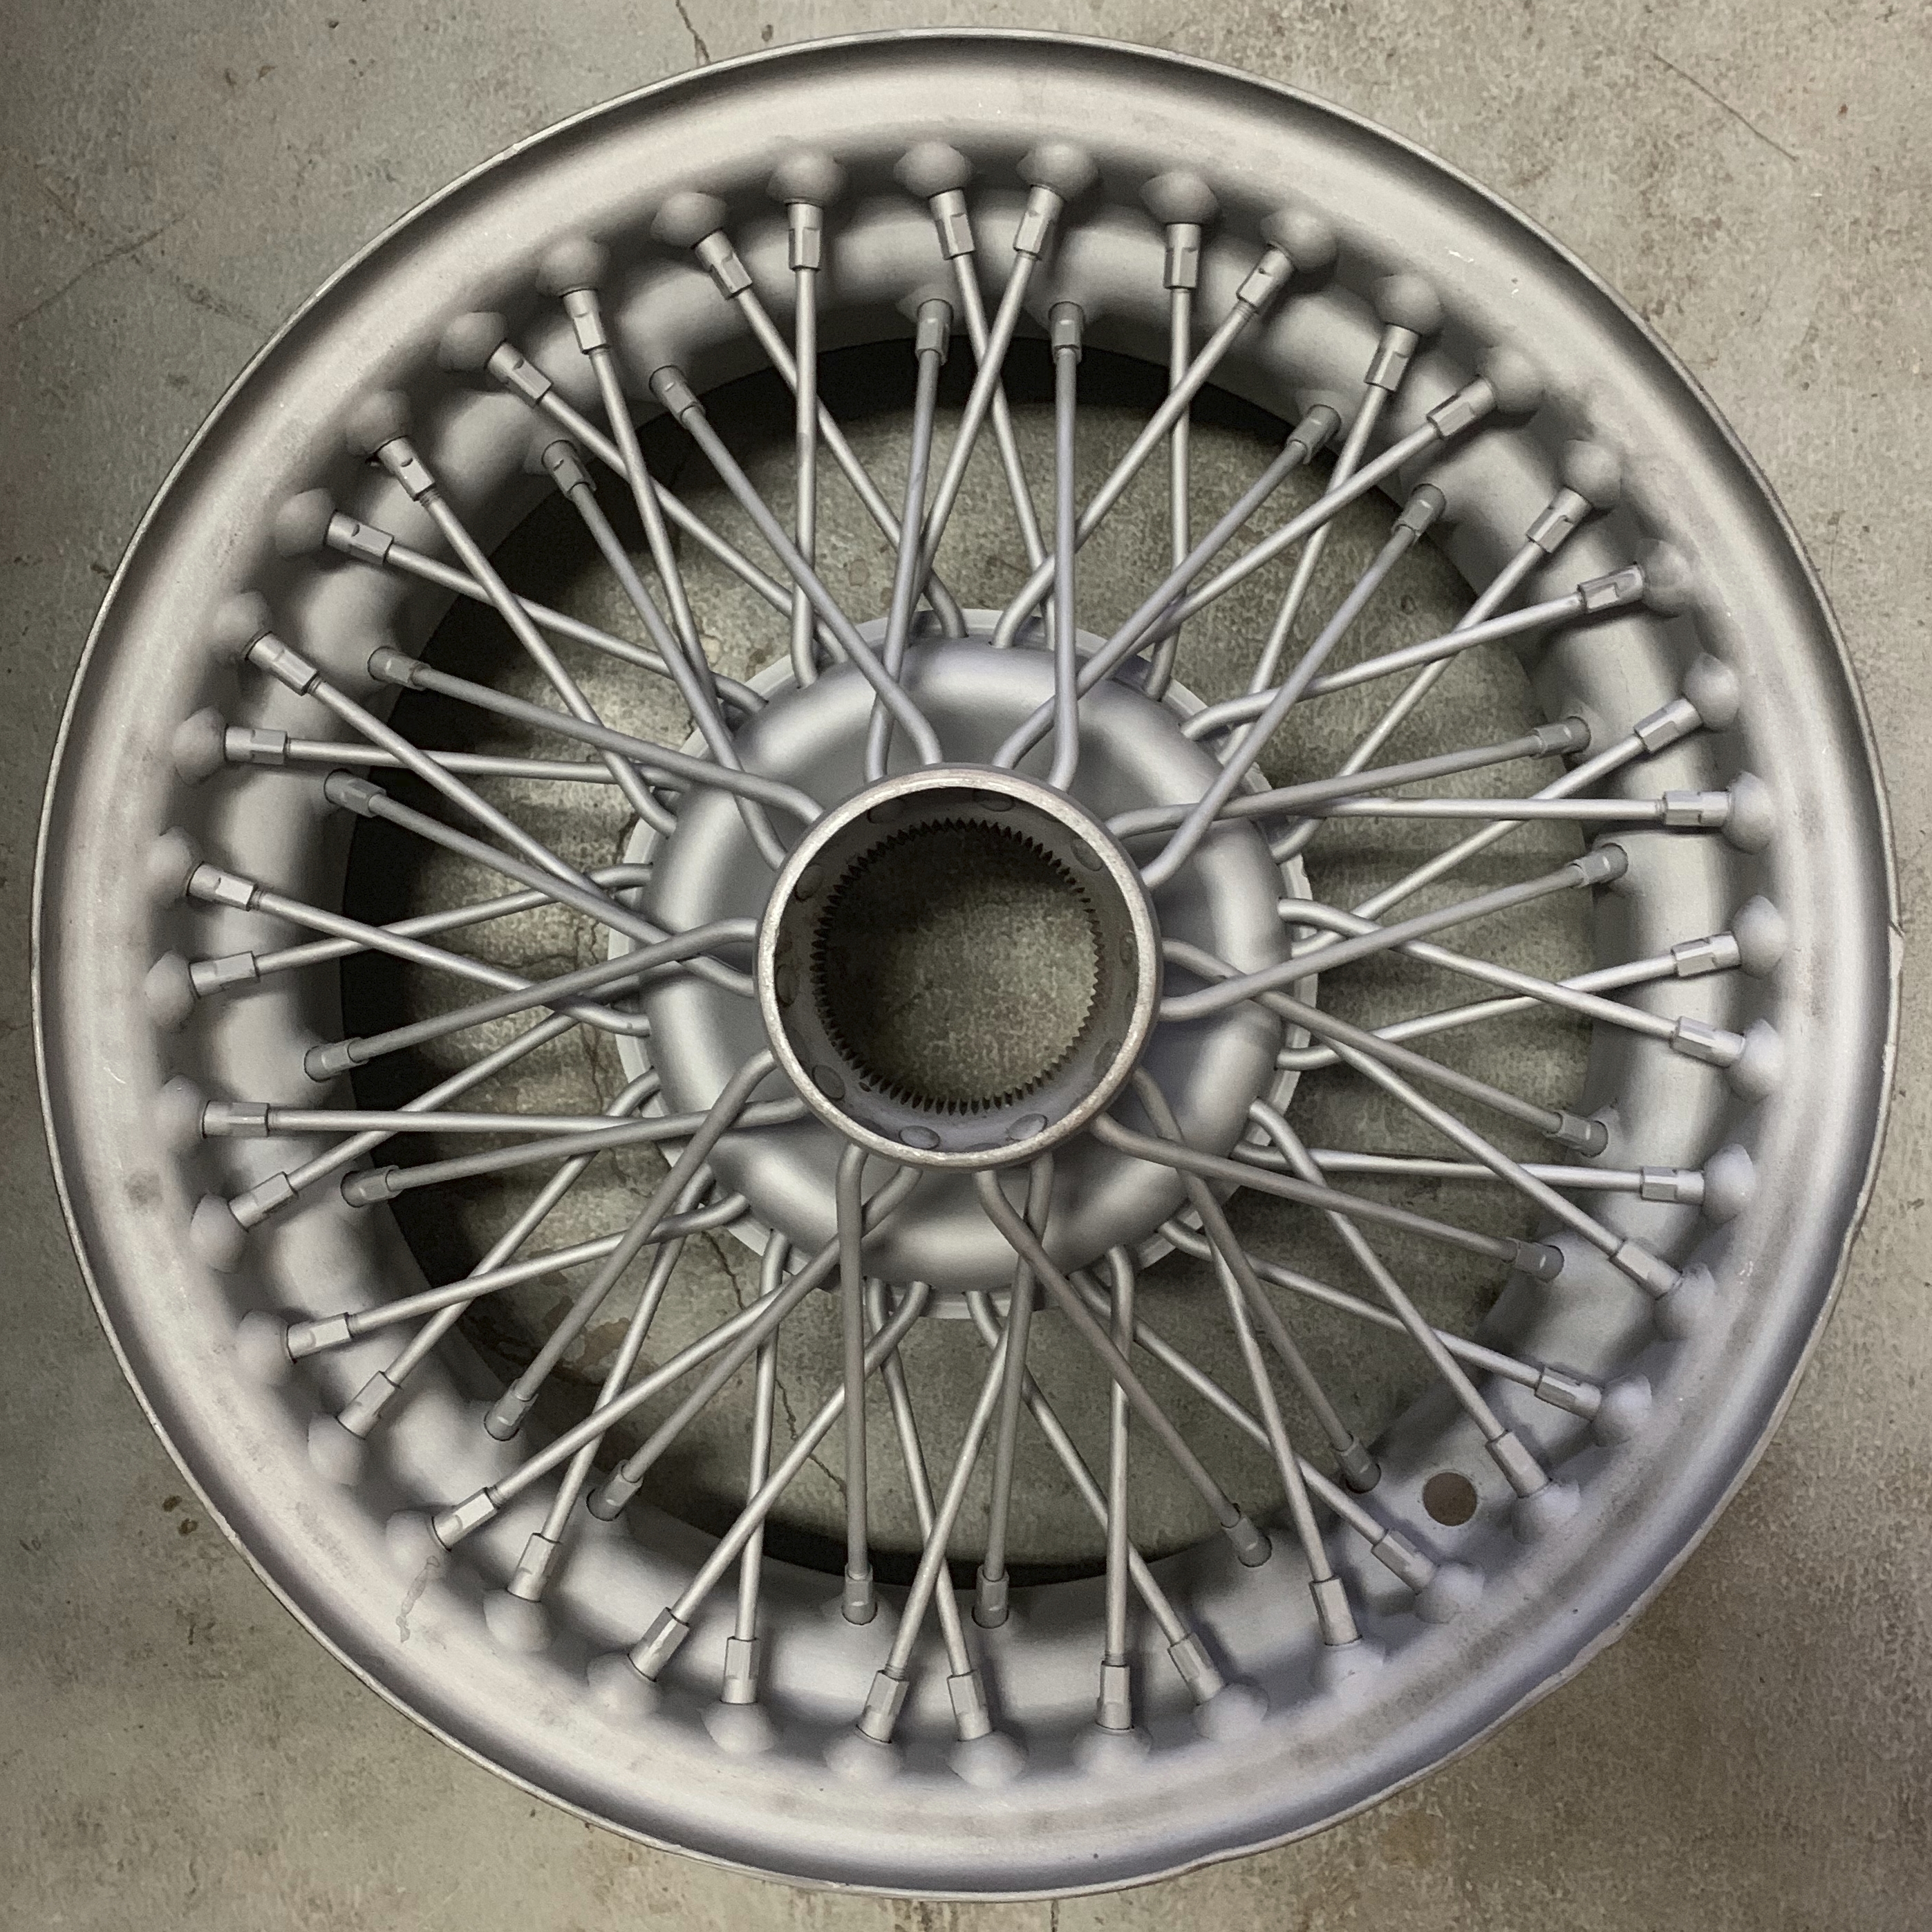
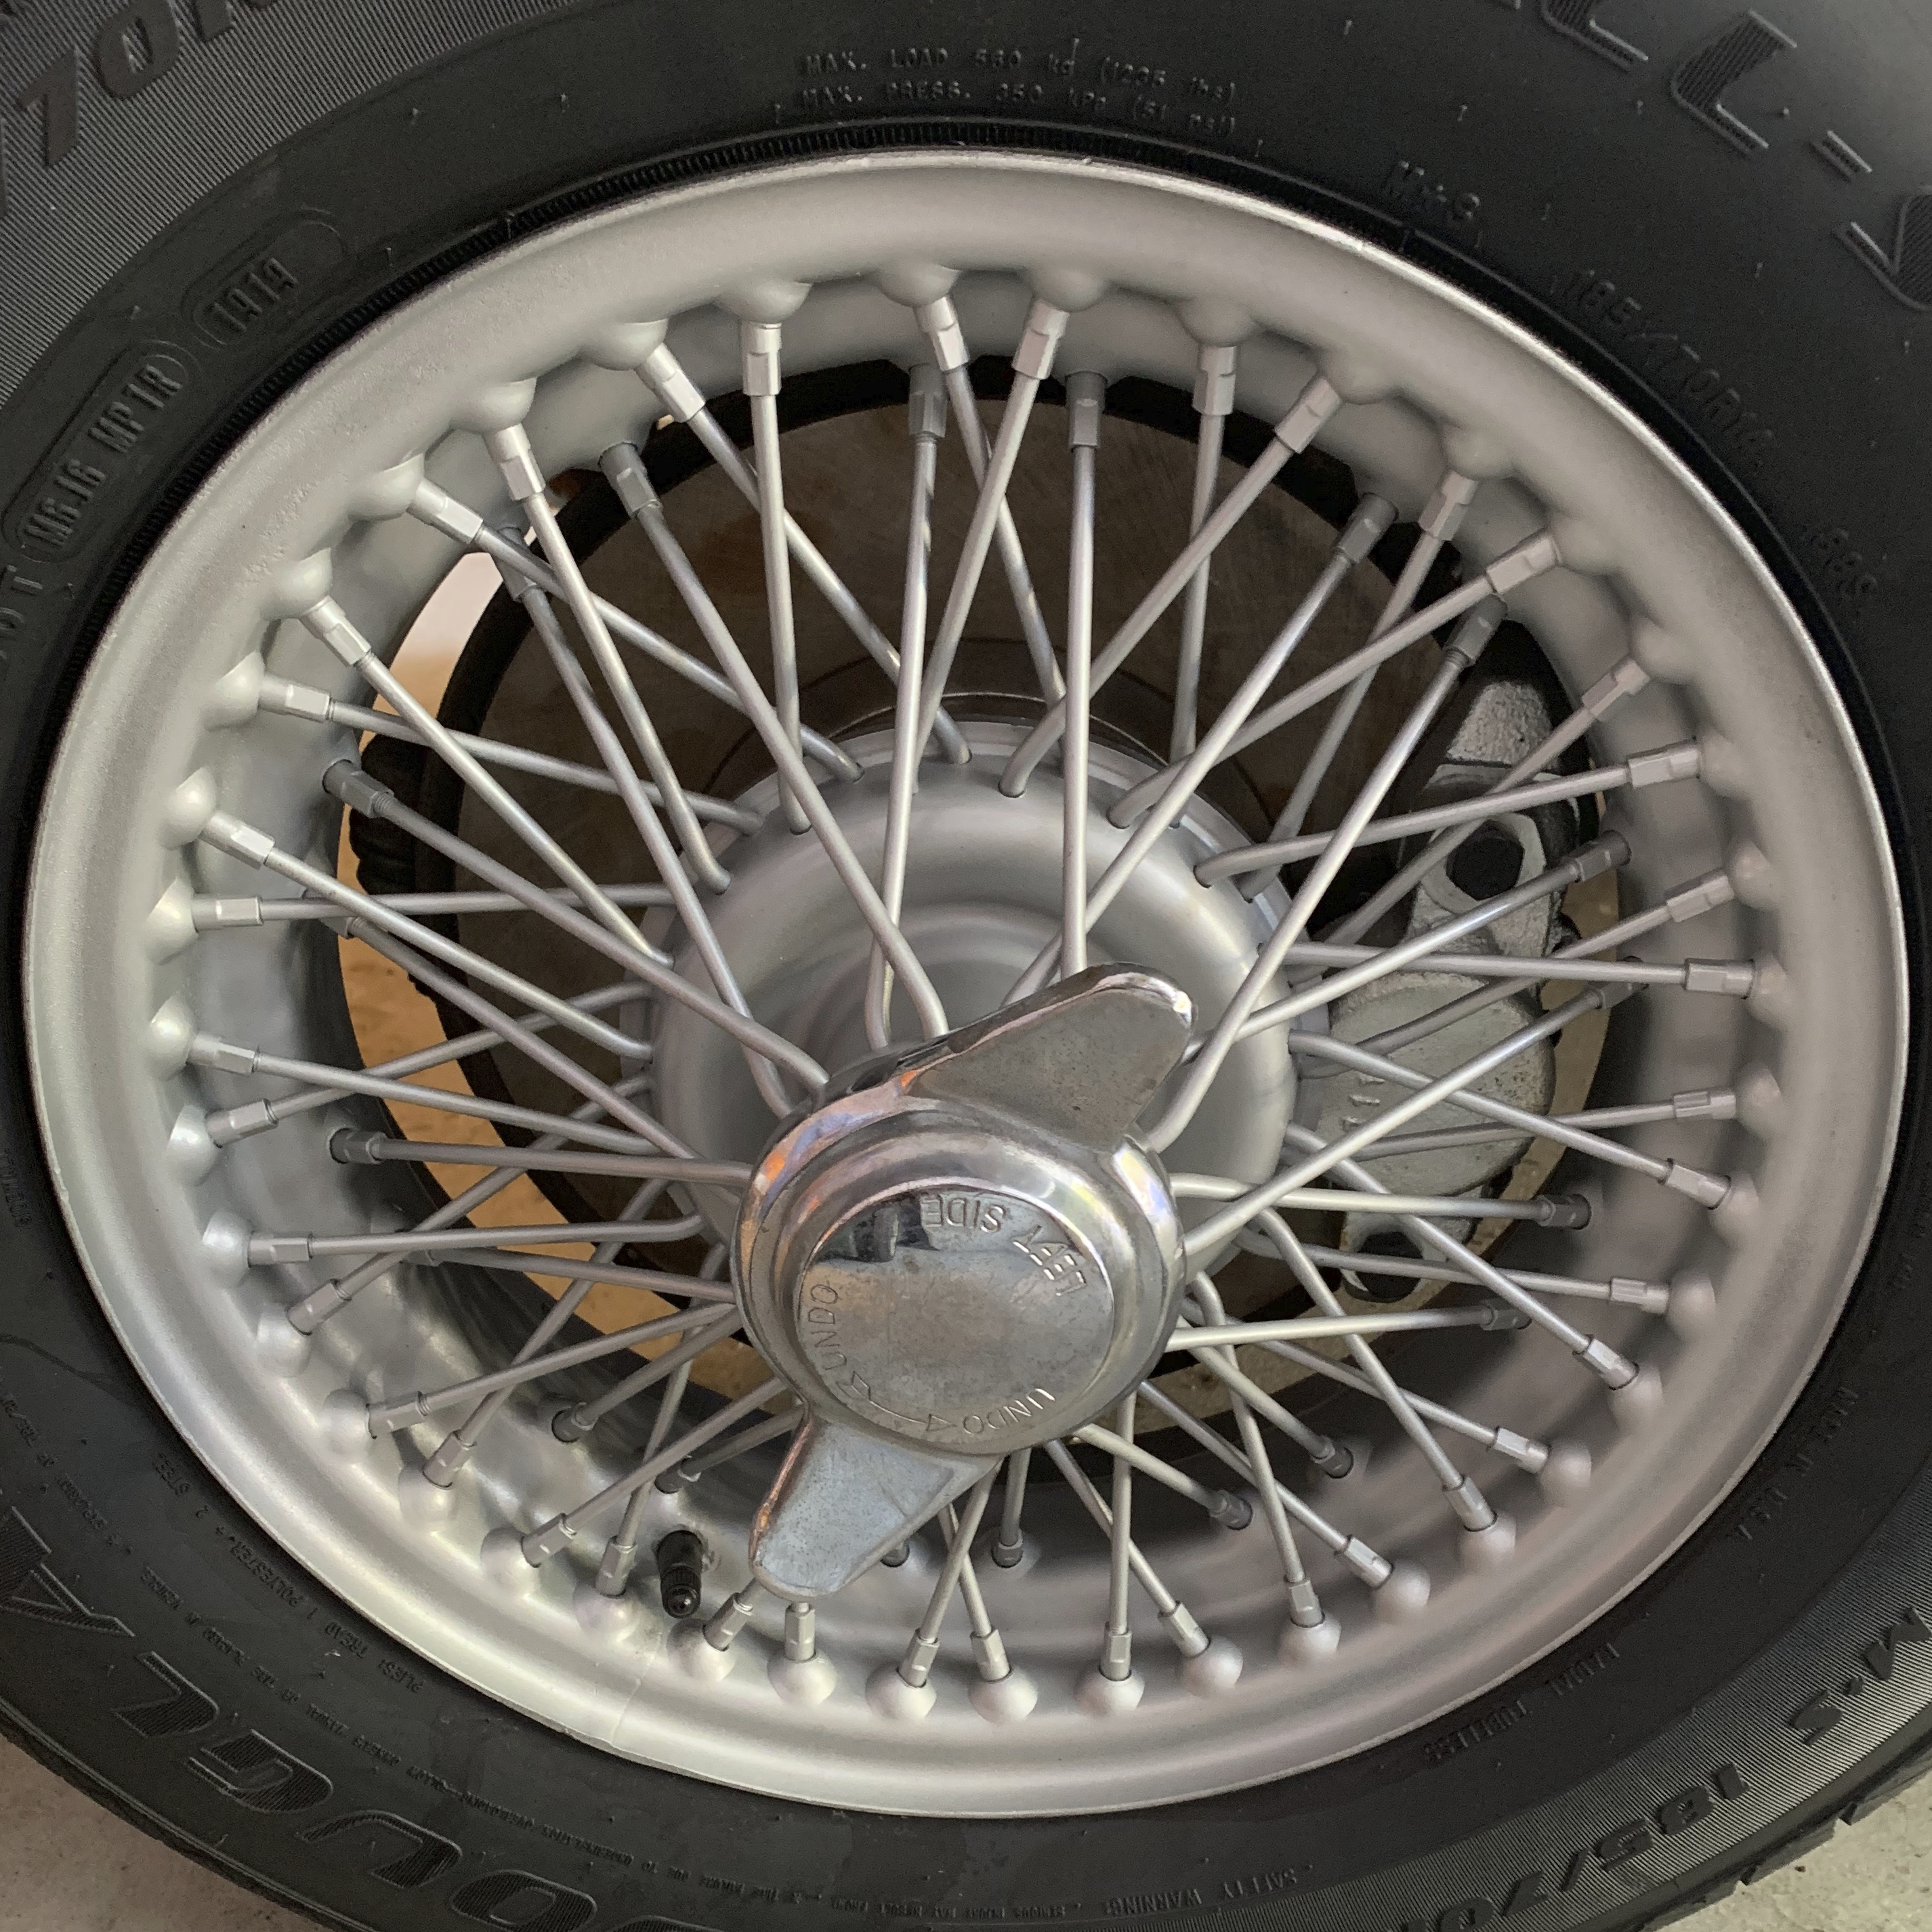
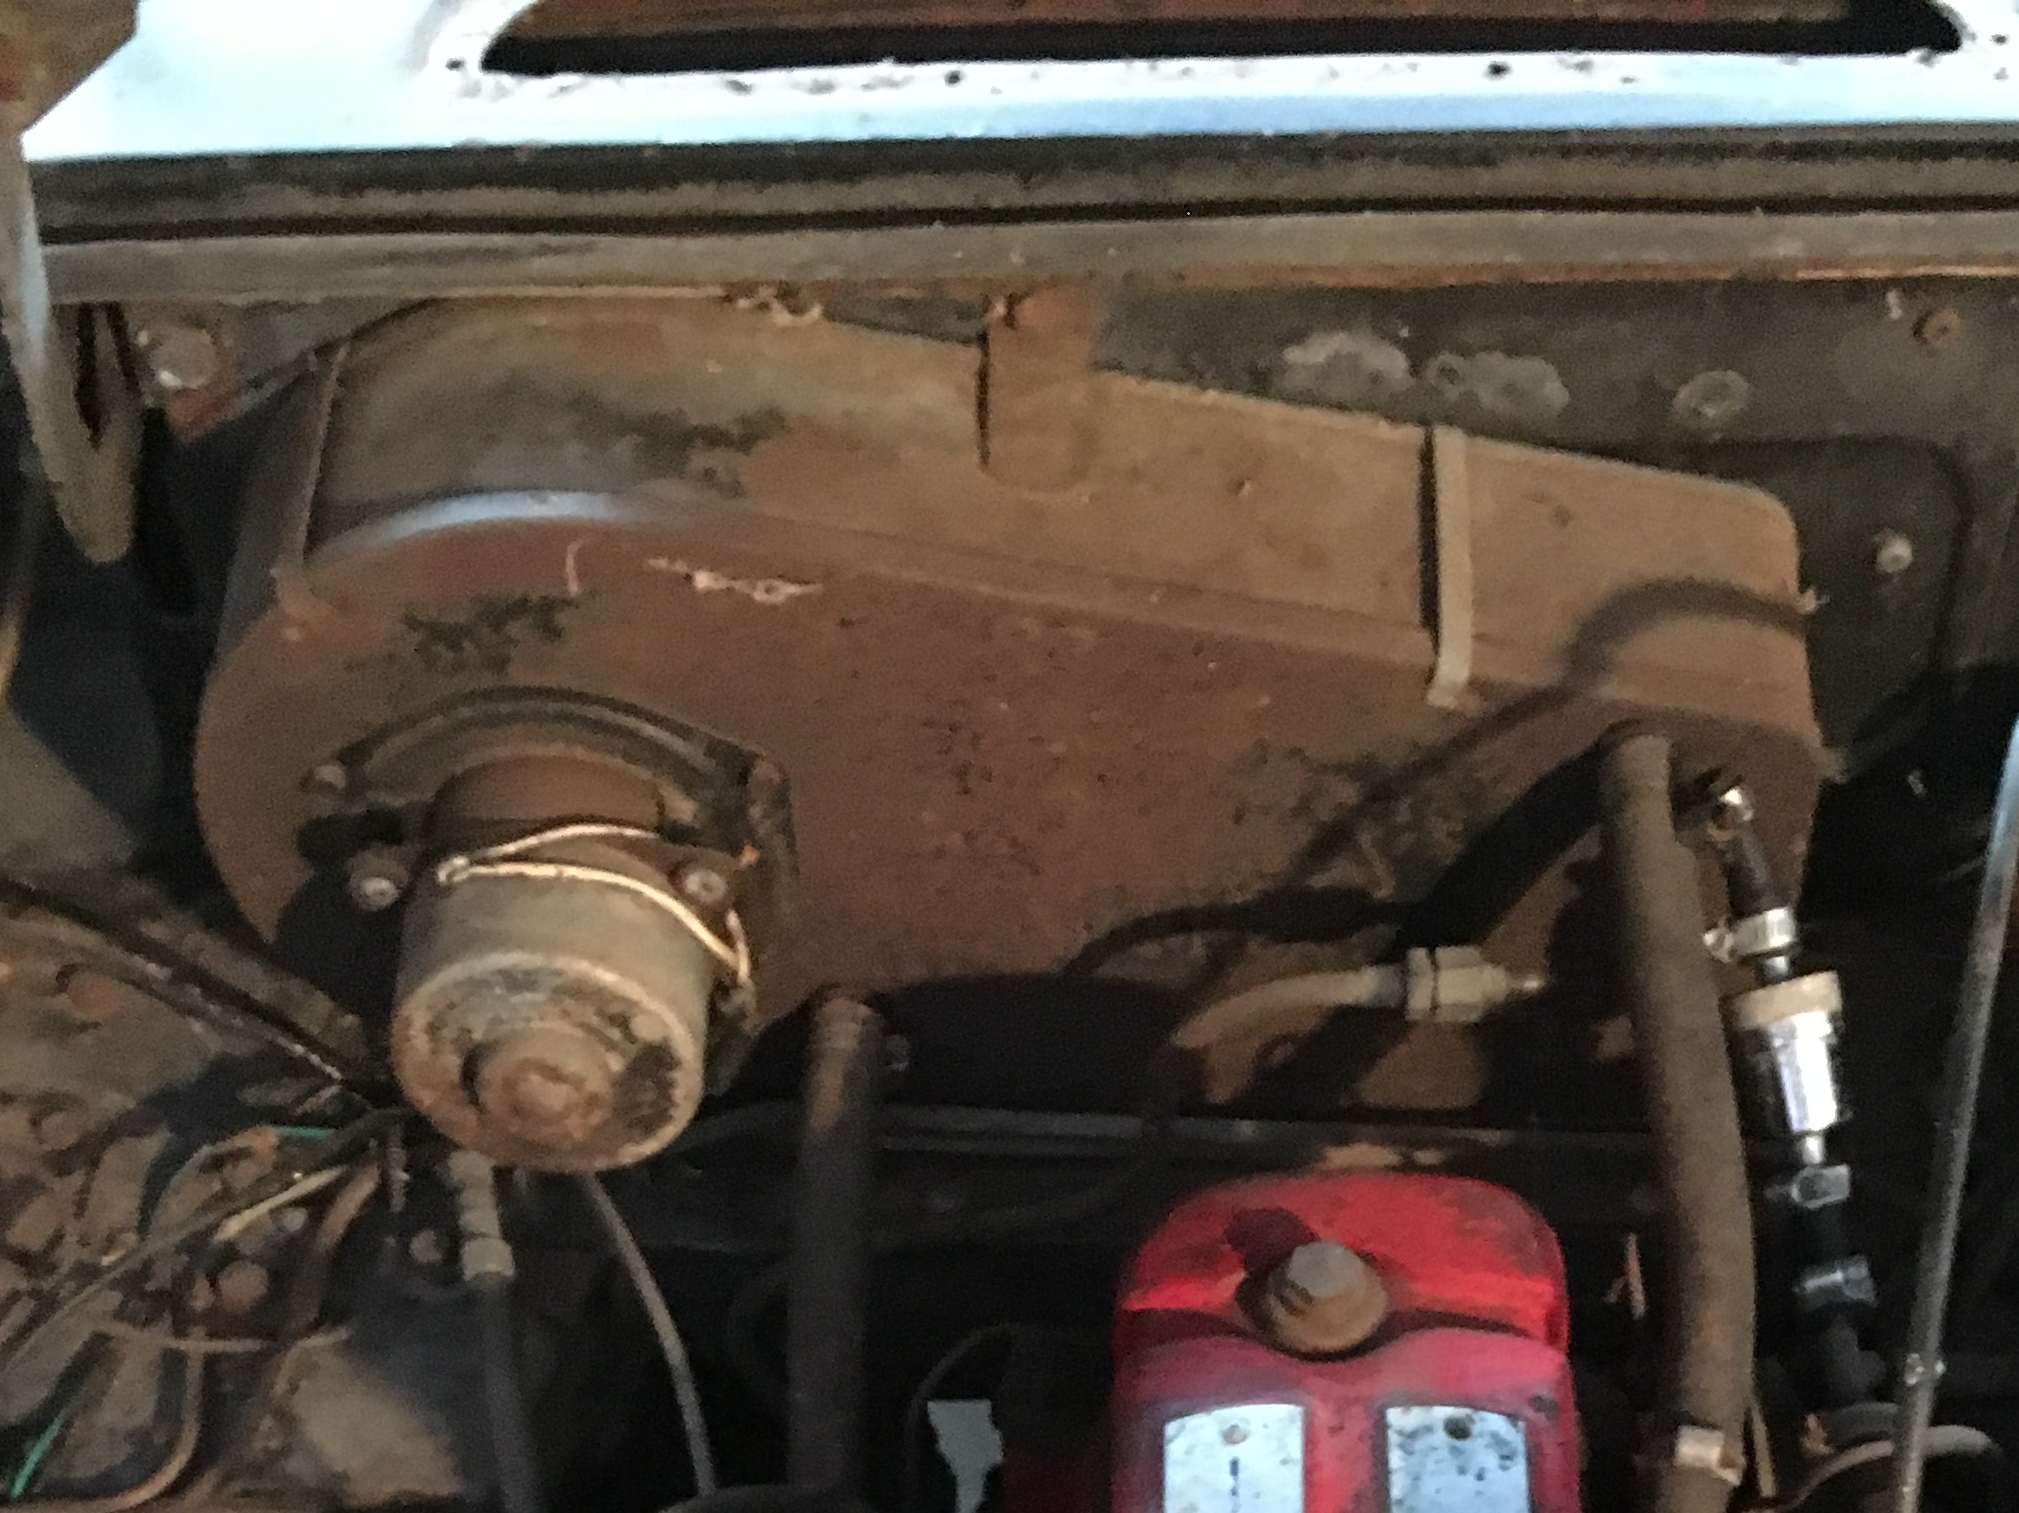
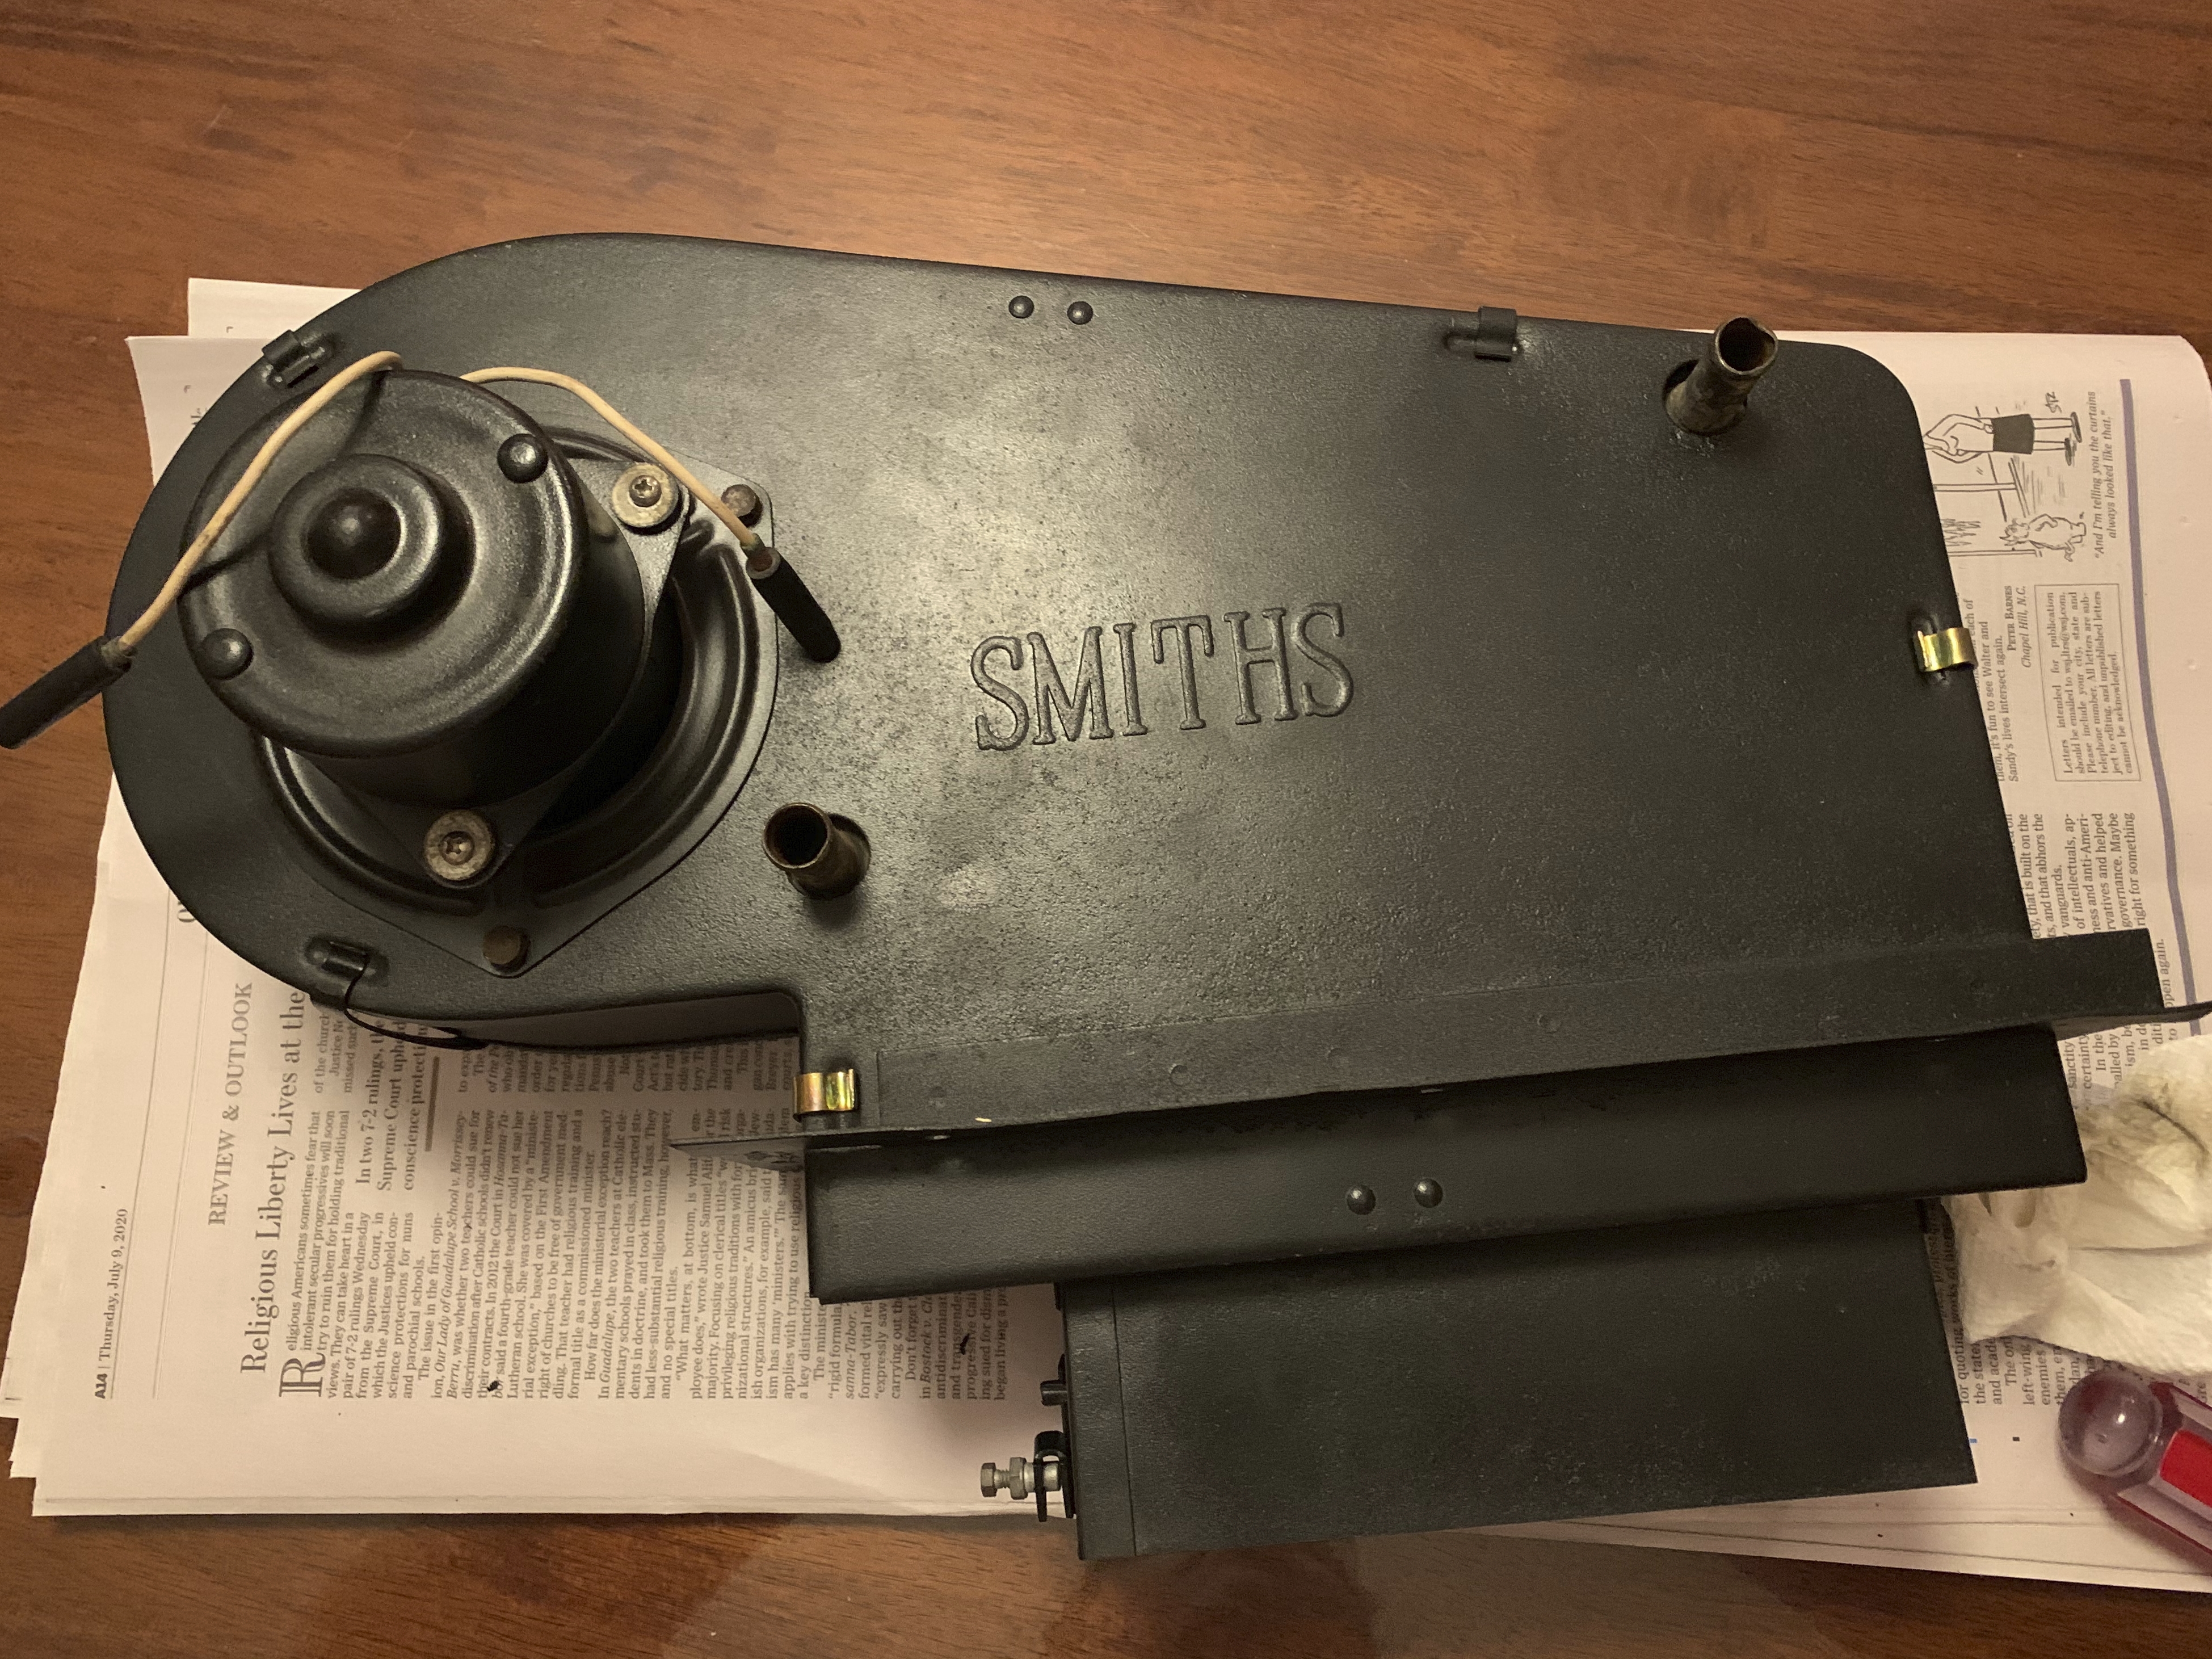
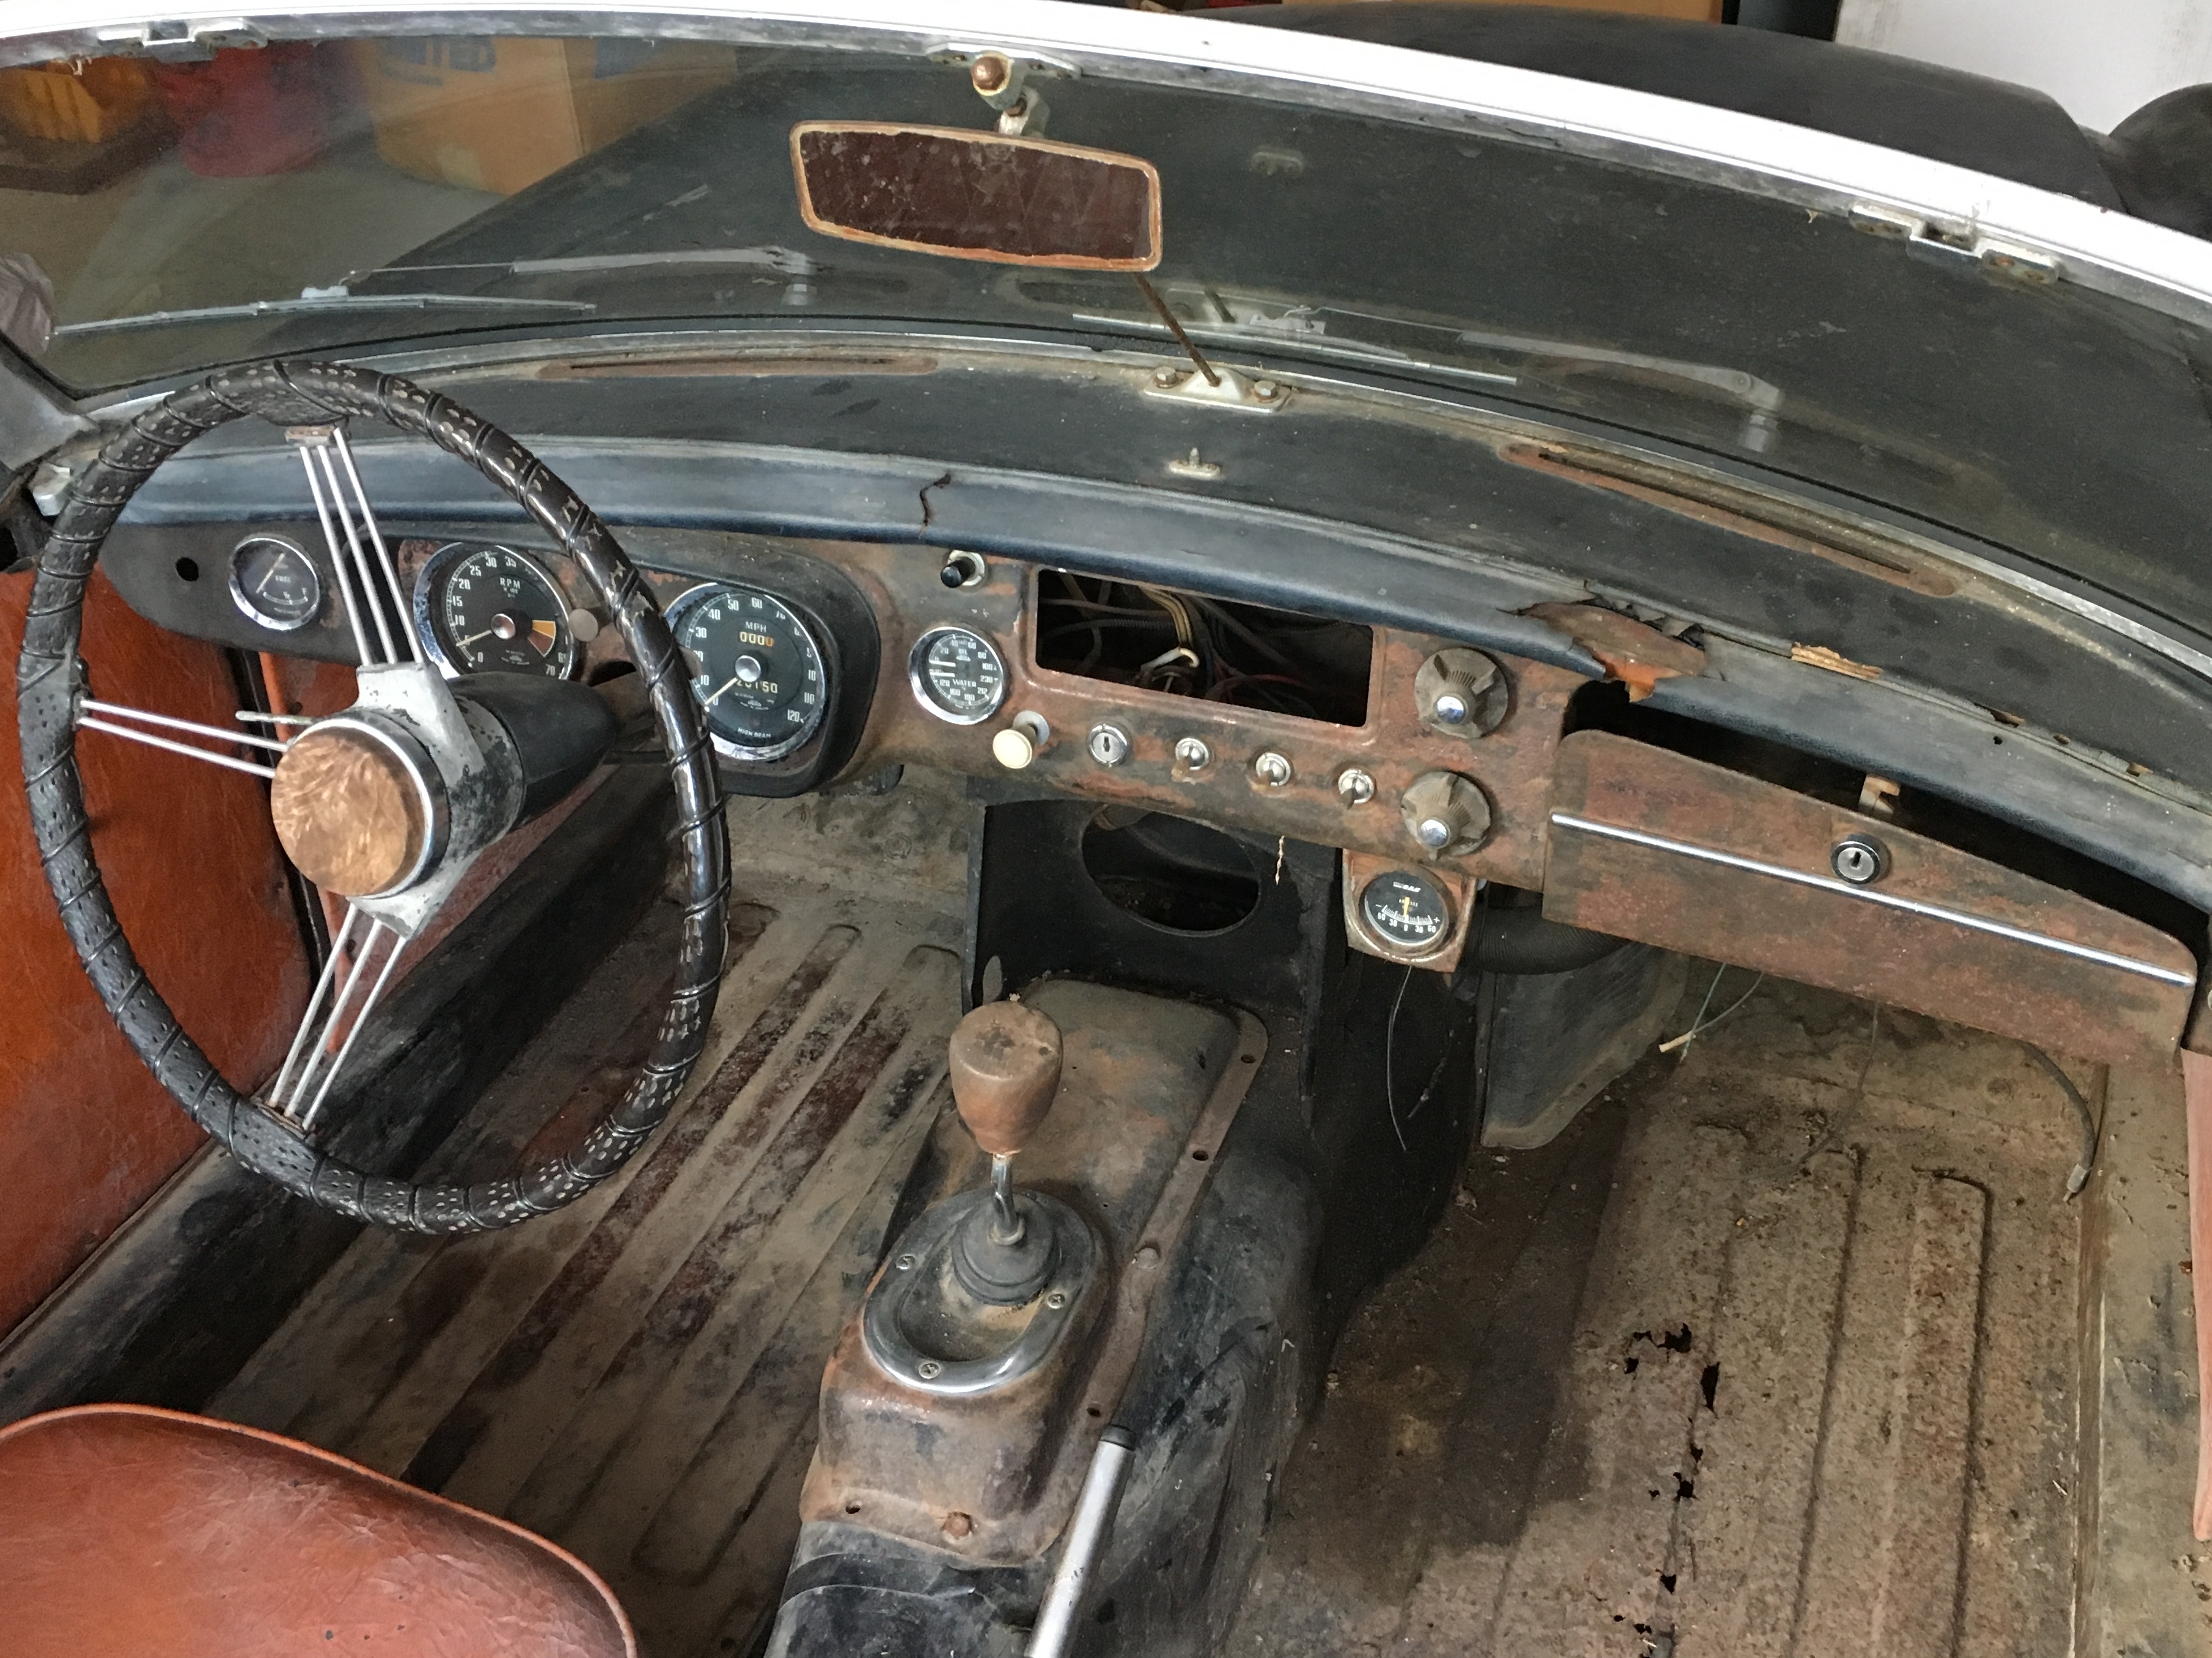
With more confidence in our car’s foundation, we began stripping the car down to its shell so that it could be fully repainted. (We had actually planned on buying a new, painted body shell and transferring all the parts over to the new shell, but we opted to repaint the old shell because it had very little rust damage.) We started with the dashboard, which involved labeling wires on the old wiring harness so that we could later install the new wiring harness. We also labeled certain cables (tachometer, speedometer, heater, etc.) that were connected to the engine. Afterwards, I removed all the switches, gauges, and knobs from the dashboard so that I could sandblast it and repaint it with the original black crinkle spray paint.

